Skip to content
Home
About Troy
Search For Recipes
Follow Grizzly BBQ
Instagram
YouTube
Search
cooking
October 21, 2023
On Pizza-Making and Mental Health
October 14, 2023
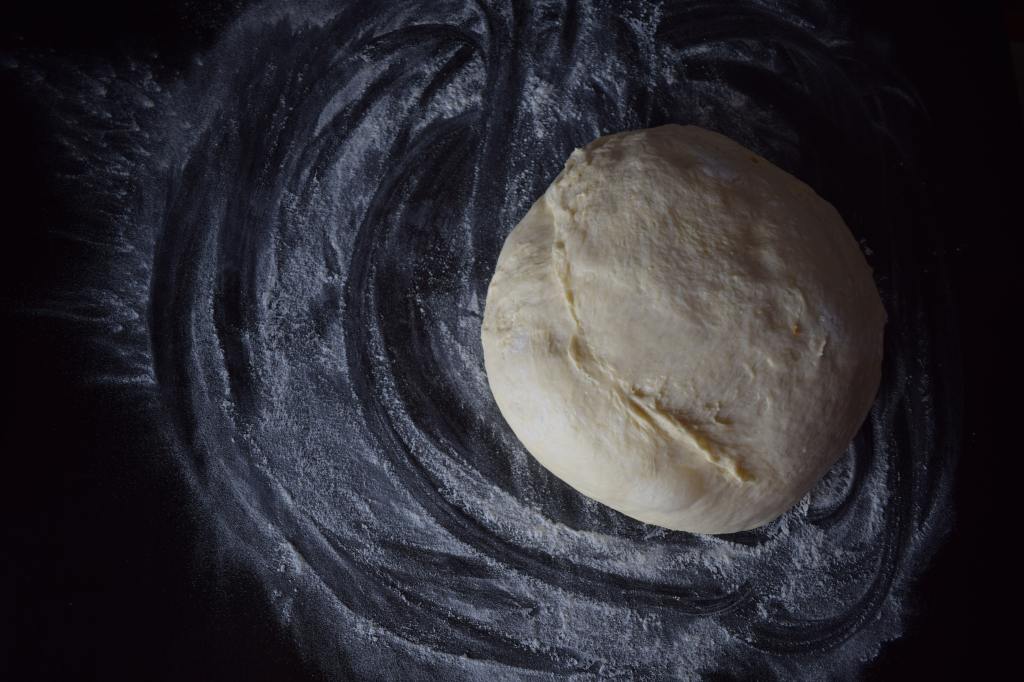
The 7 Keys to Making Great Pizza Dough That Doesn’t Tear
October 11, 2022
New York Style Pizza Dough Recipe for the Halo Versa 16
October 5, 2022
Why I Love Pizza: Explaining My Obsession With Mastering Dough
June 17, 2022
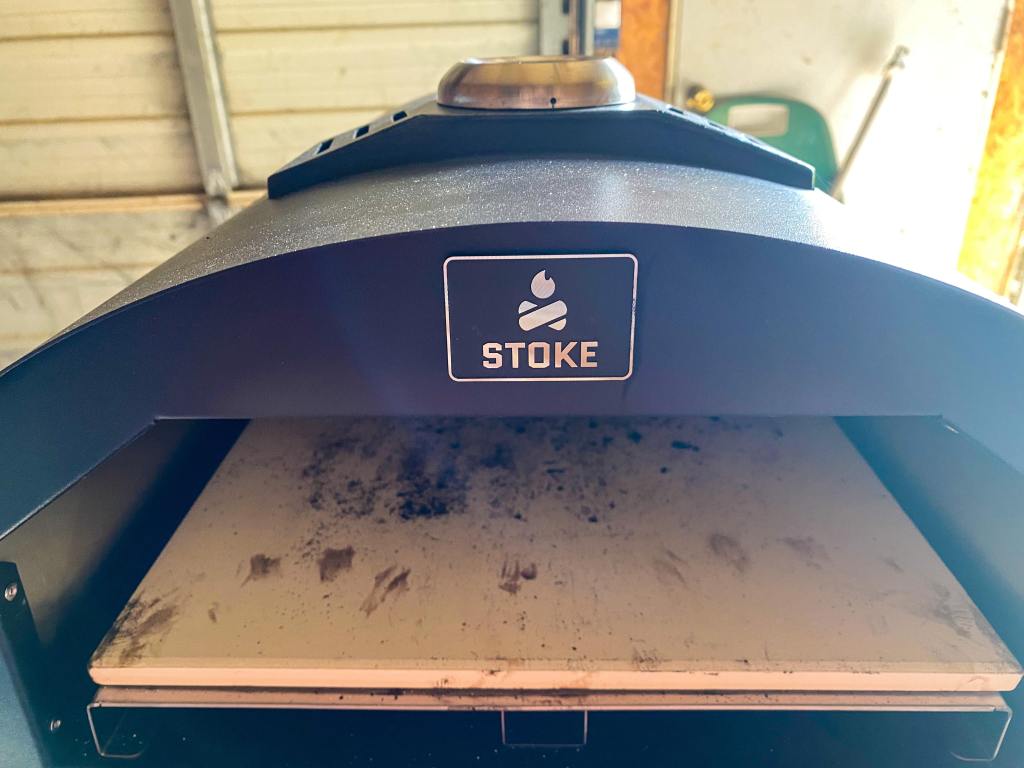
Stoke Pizza Oven: An Honest Review
July 12, 2020
Grilled Stuffed Poblano Peppers
July 7, 2020
The Key to Smoking a Great Brisket
Next Page
→
Privacy & Cookies: This site uses cookies. By continuing to use this website, you agree to their use.
To find out more, including how to control cookies, see here:
Cookie Policy
Subscribe
Subscribed
Grizzly BBQ
Join 172 other subscribers
Sign me up
Already have a WordPress.com account?
Log in now.
Grizzly BBQ
Subscribe
Subscribed
Sign up
Log in
Report this content
View site in Reader
Manage subscriptions
Collapse this bar