
In the pizza-making world, it is inarguable that nothing is more frustrating than taking the time to craft a batch of dough, only to not be able to use it for making pizza because you can’t stretch it into a pie. This is doubly frustrating when you have spent money on cheese (the most expensive pizza ingredient), a high quality tomato sauce and your toppings of choice.
When I first started making pizza, I read so many guides and watched even more videos, but I couldn’t figure out why my pizza dough was behaving the way it was: tearing or simply not wanting to stretch.
It took time, patience and experience, but I finally figured it out. You have to walk before you can run, so before you begin delving into the science of high hydration doughs, final mix temperature and other terms you will read along your pizza journey, I urge you to heed these general guidelines as a beginner.

1.) Use a Strong Flour
Correct me if I’m wrong, but as far as most grocery stores are concerned, the highest protein content you can find in a flour is from King Arthur bread flour (at 12.7%) in a 5-lb. bag. Bread flour is typically higher in protein content than, say, all-purpose, and because of that you will have a stronger dough when you make pizza with it.
For New York style pizza, I use General Mills Gold Medal All Trumps flour (14.2% protein), which I buy in a 25-lb. bag from a relatively local restaurant supply shop. However, you can buy it from the link indicated in this paragraph. If you genuinely want to learn to make pizza, opt for a large bag of flour, as a 5-lb. bag of flour is not going to last long, at least not enough to learn with, and in the long run it will cost you more money.
2.) Use a Food Scale and a Gram Scale
Years before I started making pizza, I had a food scale, sitting in its box, collecting dust. Even when I started my own pizza-slinging journey, I stubbornly followed recipes by weighing ingredients through volume. Don’t do that! My first attempt at making dough, it was so wet and I drowned it in flour in order to make it workable. I had no idea what the hydration percentage was, because of my volume-weighing method. It is imperative that you use a food scale to weigh both the amount of flour you want to use as well as water to determine the hydration.
A regular food scale isn’t enough. You can measure water and salt with one, but you need a gram scale for measuring things like yeast, salt and oil, but predominantly yeast. Depending on the conditions of your dough fermenting method of choice, a food scale will not be able to weigh a potential minuscule amount of yeast. Luckily, both a food scale and a gram scale are inexpensive. This is the gram scale I use.
3.) Watch the Salt
Salt in your dough is important. Asides from providing flavor during the ferment, it keeps the yeast in check rather than allowing it (the yeast) to run wild like Hulkamania, brother. However, did you know that salt has a remarkable impact on extensibility of your dough? Salt is important for building gluten bonds.
As a result, salt has an incredible impact on extensibility. For example, a dough made with a 12.7% protein featuring 2.0% salt is 46% more extensible than with 0% salt, since salt strengthens the gluten network in order to allow the dough to be resistant against tearing. It is important to mention, though, that above 2.0% salt, the extensibility factor begins to drop. 2.3% salt is around 9% less extensible than 2.0%, and 3.0%.
Salt’s effects on dough is called dough rheology — an entire field of study where scientists test dough using an apparatus called an extensogram. You can observe how one is used in the video linked.
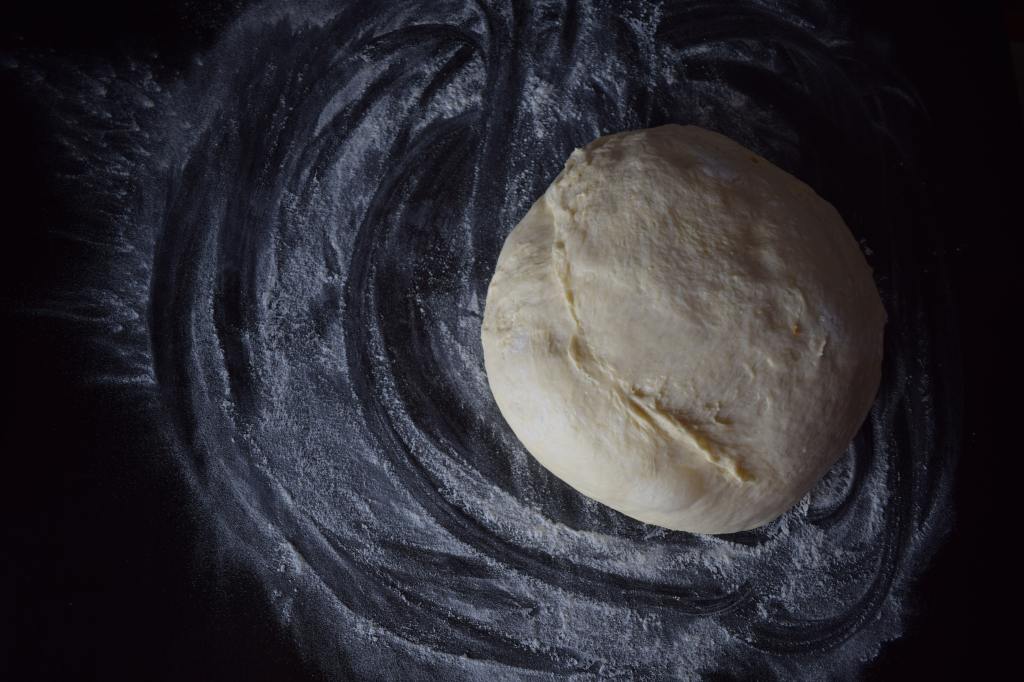
4.) Start With a Low Hydration Dough
I had my first eureka moment in my pizza voyage, upon using scales to weigh my ingredients, when I began with a 58% hydration dough. You can go up to 60%, but 58% hydration is the sweet spot for a beginner.
Hydration refers to the capacity of the flour to absorb the water, and as such, it is measured by how much water is in the dough compared to the flour. If you make a dough with 1,000 grams of flour to 600 grams of water, that would be a 60% hydration dough. To calculate, take the numerical value of the water weight and divide it by the flour weight.
The reason you want to start with a low hydration dough, as a beginner, is because high hydration can be difficult to work with; it is sticky and wet, naturally, and it is wise to start by learning the basic kneading techniques of a dryer dough. As your skills progress, you will eventually want to learn about stretch-and-folds to learn how to build gluten strength with higher hydration doughs, but starting off with a dough hydration of 60% or lower will help you get your foot in the dough of pizza-making.
5.) Don’t Sweat the Dough Kneading Technique
When you Google, ‘how long should I knead pizza dough?’, your brain might do backflips. I am not sure why there are so many sources saying to knead dough for longer than five to seven minutes.
We aren’t making bread (where you might knead for a long time); we are making pizza. I am a big believer in cold fermenting dough. Yes, you need to knead in order to create the building blocks for the dough’s gluten structure, but it only takes a few minutes. You want to force air into the dough by folding it over and onto itself. However, the beautiful thing about cold fermenting your dough is that, over the course of a two or three days in the refrigerator, the gluten is formed through the means of biochemical gluten development as it sits and the yeast works with the dough to create acids.
Now, there is a caveat to all of this: if you plan on making pizza with a dough in less than 24 hours, perhaps you will knead for a longer duration. I don’t even bother checking for the windowpane test at first. I’ll poke the dough, and if it springs back quickly, I know it is time to move on to the ferment stage. If the poke indention remains, I know I must knead longer.
6.) Cold Ferment Your Dough
Flavor is the name of the game, and a dough that sits in your fridge for 72 hours is objectively better than one that rests for 24 hours.
I cannot recommend cold fermenting your dough enough. My process is that I will make my dough, bulk-rest it on the countertop for an hour, shape the dough into balls, place them into individual 6-cup containers and add them to the refrigerator for 48 to 72 hours.
The purpose of cold fermentation is to develop better flavors and aromas in the finished crust via the formation of fermentation byproducts. At the same time, this is where the aforementioned biochemical gluten development takes place. Your dough will strengthen and, by the time you open it into a skin and stretch into a pizza, it will resist tearing.
When you remove the dough from the refrigerator, prior to shaping, be sure to allow it to rest at room temperature for an hour or two (pending the temperature of your home), as a cold dough will be elastic and snap back when you attempt to stretch it.
7.) Watch for Thin Spots
This is the final step: you are almost there. You have successfully made your dough and moved onto balling, refrigerating and ensuingly resting it at room temperature prior to cooking. Now, as you move on to the stretching stage, there is one last thing you have to take care of.
When pressing your dough into a skin, take care not to touch both the rim or the center. If you press into the center early on, when you go to stretch it, you will face a higher likelihood of experiencing a thin spot. This is because, when you lift the dough to knuckle-stretch, if you have pressed into the center, there will not be enough dough mass to accept the outward pull. If you avoid overhandling the center, this will not be the case as there will be more room for error as you turn it into a round.
Let the pizza-making begin.


Leave a comment