Skip to content
Home
About Troy
Search For Recipes
Follow Grizzly BBQ
Instagram
YouTube
Search
food
March 29, 2024
Easy Deep-Fried Calzone (Panzerotti) Recipe
October 21, 2023
On Pizza-Making and Mental Health
October 14, 2023
The 7 Keys to Making Great Pizza Dough That Doesn’t Tear
October 15, 2022
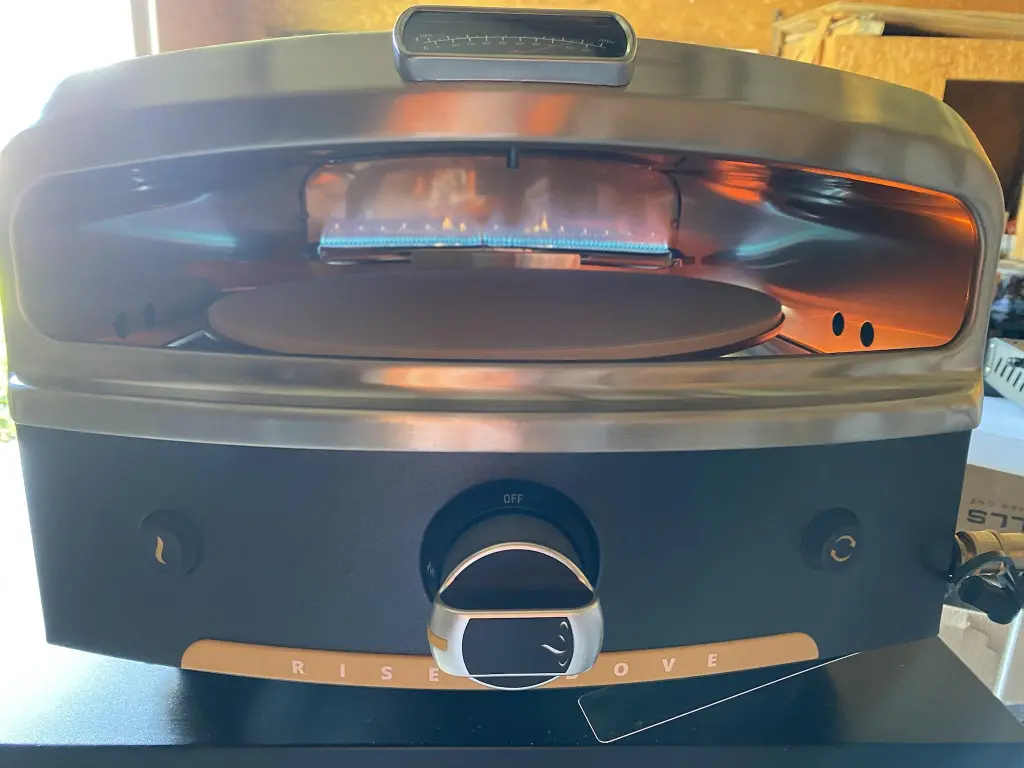
Is the Halo Versa 16 Worth Buying?
October 11, 2022
New York Style Pizza Dough Recipe for the Halo Versa 16
October 5, 2022
Why I Love Pizza: Explaining My Obsession With Mastering Dough
June 17, 2022
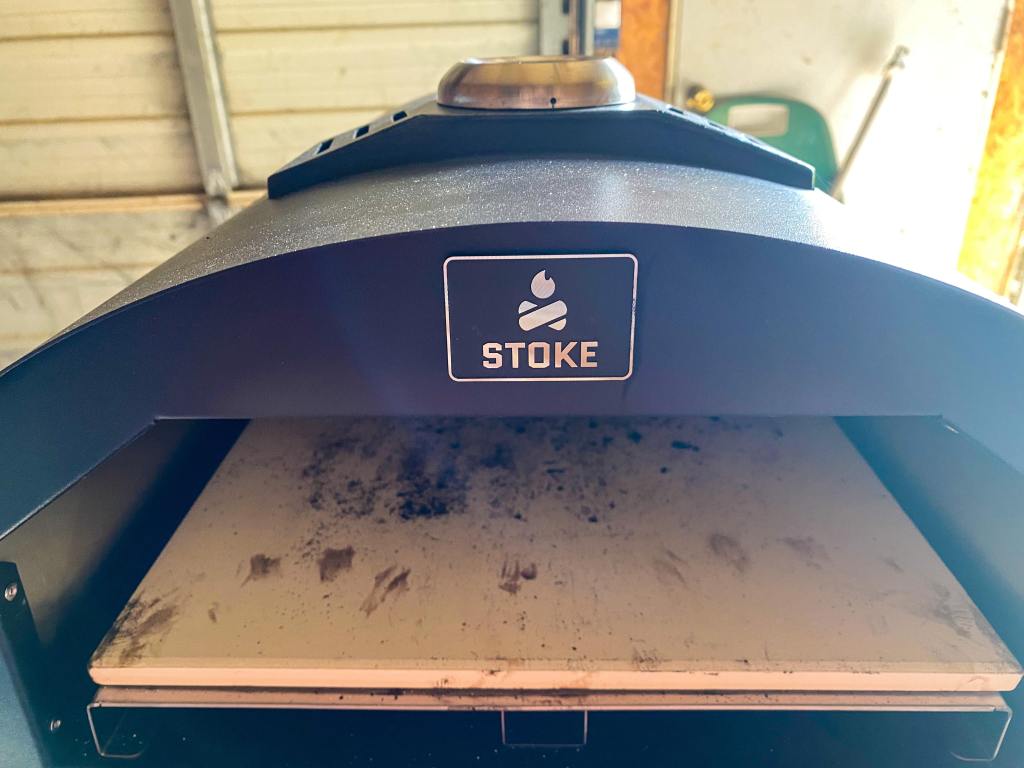
Stoke Pizza Oven: An Honest Review
Next Page
→
Privacy & Cookies: This site uses cookies. By continuing to use this website, you agree to their use.
To find out more, including how to control cookies, see here:
Cookie Policy
Subscribe
Subscribed
Grizzly BBQ
Join 172 other subscribers
Sign me up
Already have a WordPress.com account?
Log in now.
Grizzly BBQ
Subscribe
Subscribed
Sign up
Log in
Report this content
View site in Reader
Manage subscriptions
Collapse this bar